How to Effectively Use a Stud Finder for DIY Home Projects in 2025
Determining the precise location of wall studs is essential for many DIY home improvement projects. Whether you’re hanging a heavy painting, installing shelves, or mounting a flat-screen TV, knowing how to use a stud finder accurately can dramatically simplify the task. This comprehensive guide will explore effective techniques, tips, and tools for utilizing a stud finder, helping you become proficient in detecting studs and optimizing your home maintenance efforts.
Understanding the Basics of Stud Finders
Before diving into advanced stud finder techniques, it’s crucial to understand the fundamentals of this tool. A stud finder works by detecting changes in the density behind your walls, pinpointing the location of hidden wall studs. There are mainly two types on the market: **electric stud finders** and **magnetic stud finders**. Electric models are often more precise and feature advanced electronics that can detect not just studs, but also live wires and pipes. On the other hand, magnetic stud finders are simpler and use magnets to locate screws or nails within the stud. Each type has its unique stud finder features and benefits, catering to specific needs.
Types of Stud Finders
When choosing a stud finder for woodworking or other projects, understanding the types of stud finders available can help. The most common types include:
- Magnetic Stud Finders: Budget-friendly and easy to use, these finders help locate screws or nails.
- Electronic Stud Finders: These devices offer innovative options, like wire detection capabilities. They typically provide more accurate readings.
- Advanced Digital Stud Finders: Equipped with LCD displays, these offer more features such as depth measurement and alerts for wires.
Consider your specific DIY project needs when selecting the right tool. The effectiveness of your stud finder can make all the difference.
Deciding Between a Traditional vs Electric Stud Finder
When it comes to choosing between a traditional and an electric stud finder, consider your project requirements and skill level. A **traditional stud finder** might be sufficient for smaller tasks, while larger projects involving heavier items will benefit from the efficiency and accuracy of an **electric stud finder**. Moreover, electric models can offer features like **calibrated measurements** and **wire detection**, which can prevent disasters during projects, making them more reliable choices for advanced DIY activities.
How to Use a Stud Finder Effectively
Using a stud finder effectively requires practice and understanding the best practices to ensure accurate readings. Start by preparing your wall surface. Clear off any decorations, furniture, or obstacles that may block the area you want to monitor. Next, understanding your wall’s structure and how **studs are spaced** can provide significant insights. Most studs are typically spaced either 16 or 24 inches apart, depending on your home’s building standards and the age of your property.
Calibration and Setup
Before diving into stud detection, it’s essential to **calibrate your stud finder** according to the instructions provided in its manual. This may involve placing the device against your wall and pressing a calibration button until it confirms it’s ready. Having a well-calibrated tool will enhance its accuracy, ensuring that you can utilize it effectively for **detecting studs**. Remember, miscalibrated devices can lead to false readings or missed studs altogether, causing frustration during your projects.
Marking and Drilling
Once you’ve located a stud, marking its position accurately is crucial. One effective way to do this is by using a pencil to place a small dot on the wall. If you need a clear guidance, consider using a level to ensure any brackets or items that you mount on the wall are straight. After marking your stud, what’s next? When you decide to drill, aim for the center of the stud for the best support. It’s essential to understand that drilling into studs provides the stability required for heavier mounts, making this ability a valuable skill in your DIY toolset.
Common Issues with Stud Finders and Troubleshooting Tips
Like many tools, stud finders can present challenges, but understanding common problems and how to troubleshoot them can enhance your experience. Some users encounter **stud finder problems** such as false positives or failure to detect studs. Factors impacting accuracy include wall thickness, insulation, and the material composition of your walls.
Common Stud Finder Mistakes
A frequent misconception among novices is utilizing a stud finder on all wall surfaces without considering structural variations. Materials like plaster or heavily insulated walls can interfere with detection. Fixing the mistakes begins with understanding **stud spacing** and testing your tool on multiple sections of the wall to find optimal readings. Additionally, always reactively check the depths and **marking studs** as you proceed to ensure accuracy.
Best Practices for Using Stud Finders
To maximize the efficiency of using a stud finder, consider implementing these best practices in your method:
- **Take your time:** Smoothly slide the tool across the wall to avoid delay in readings.
- **Double-check readings:** Use the stud finder multiple times across the same area for comprehensive validation.
- **Keep it level:** Always ensure your stud finder is level throughout the process to yield accurate results.
In summary, ensuring consistent readings can help with seamless wall mounting projects, elevating your overall DIY experience.
Choosing and Purchasing a Stud Finder
When considering a purchase for a stud finder, select based on features that cater specifically to your projects. Whether you’re looking for a **budget stud finder** for small repairs or a more advanced option for larger renovations, it’s critical to research and compare options available on the market.
Where to Buy a Stud Finder
You can purchase stud finders at various home improvement stores, but ensure you also check online retail sites for deals and comprehensive reviews. Many online platforms list user experience and additional specifications, helping you choose the best device for your situation.
Recommendations for Top Brand Stud Finders
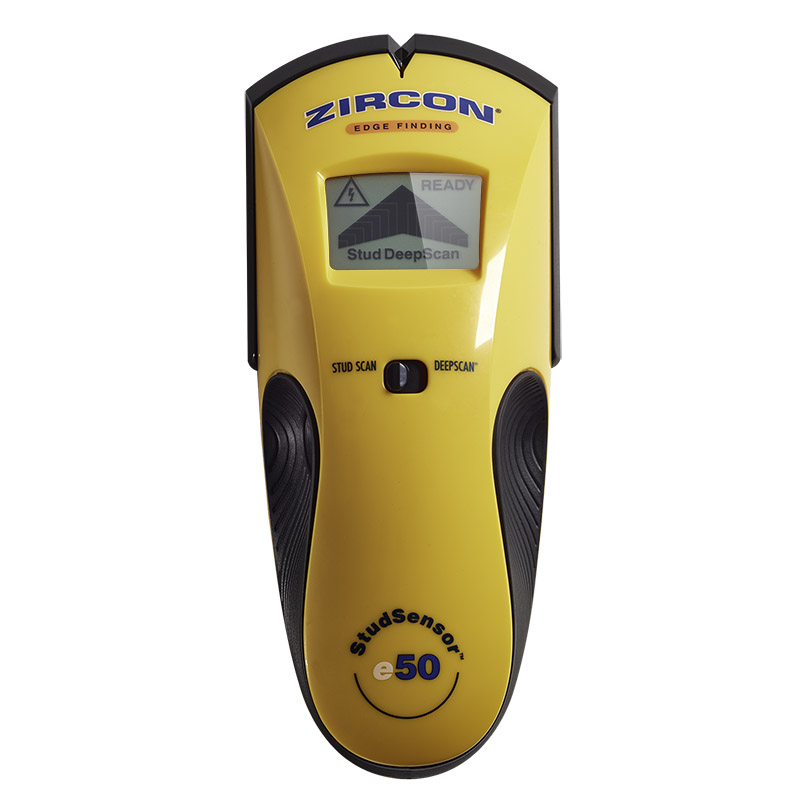
Brands like Zircon, Black & Decker, and Bosch consistently rate high among users. Look out for detailed reviews which will assist in providing insight into the **best stud finder brands**, helping you to choose a reliable one for any DIY project. This choice is crucial for achieving satisfactory results, especially when more than just a few studs need to be marked.
Key Takeaways
- Understand the various types, including **electric** and **magnetic** stud finders, to choose the right one for your project.
- Practice **calibration and setup** for an improved **stud finder accuracy**.
- Always **mark studs** carefully and drill centrally for optimal results.
- Familiarize yourself with common mistakes and learn useful **troubleshooting techniques**.
- Research well before purchasing to select a tool suited to your DIY needs.
FAQ
1. How can I improve stud finder accuracy?
Improving stud finder accuracy starts with proper calibration, understanding the wall structure, and checking your readings multiple times. Conduct tests on various wall sections to identify true stud placement. This practice also helps to alleviate false positives from interference caused by insulation or plumbing.
2. What are common features in a stud finder?
Common features in a stud finder may include **wire detection**, depth measurement, and an LCD display for clarity. Advanced models might allow for layout options that can help in significantly improving the efficiency of various DIY projects. Researching and reviewing each feature assists in selecting the tool best suited to your needs.
3. How do I choose the right stud finder for my project?
When choosing a stud finder, assess your project needs; if you need a simple device for light fixture installers, a basic magnetic model may suffice. For more extensive work involving heavy cabinets or shelving, opt for a more sophisticated **electric stud finder**.
4. What is the difference between manual and automatic stud finders?
Manual stud finders are often simpler and require more hands-on operation, while automatic stud finders can detect more than just studs, giving alerts for plumbing and electrical wiring.
5. Can I use a stud finder on all wall types?
While stud finders generally work well on most wall types, materials like heavy plaster walls or paneling can create issues with detection. Familiarize yourself with the wall type before starting, and be prepared for possible discrepancies in readings.
6. Where can I find reliable stud finder reviews?
Online platforms and home improvement forums often contain valuable information on **stud finder reviews**. Look for recently purchased models, ensuring you access updated feedback from real users who share their experiences and suggestions.
7. Are there alternatives to stud finders for locating studs?
While not as accurate, alternatives for finding studs include thumping the wall and listening for differences in hollow and solid sounds or using a strong magnet to locate screws or nails, which can indicate stud positions.
By understanding how to effectively use a stud finder and embracing these tips, you can transform your DIY home projects into successful endeavors. Happy DIYing!