How to Properly Take Pictures of the Northern Lights in 2025: Capture Stunning Views!
Introduction to Northern Lights Photography
Photographing the northern lights can be a thrilling adventure, especially as we head into 2025 with advancements in technology and techniques. Learning how to photograph northern lights effectively can lead to stunning images that capture the fantastic displays of nature’s color palette. Before you grab your camera and venture out, let’s explore some essential northern lights photography tips, best practices, and the right equipment to make your aurora chaser experience unforgettable.
Essential Photography Equipment for Capturing Auroras
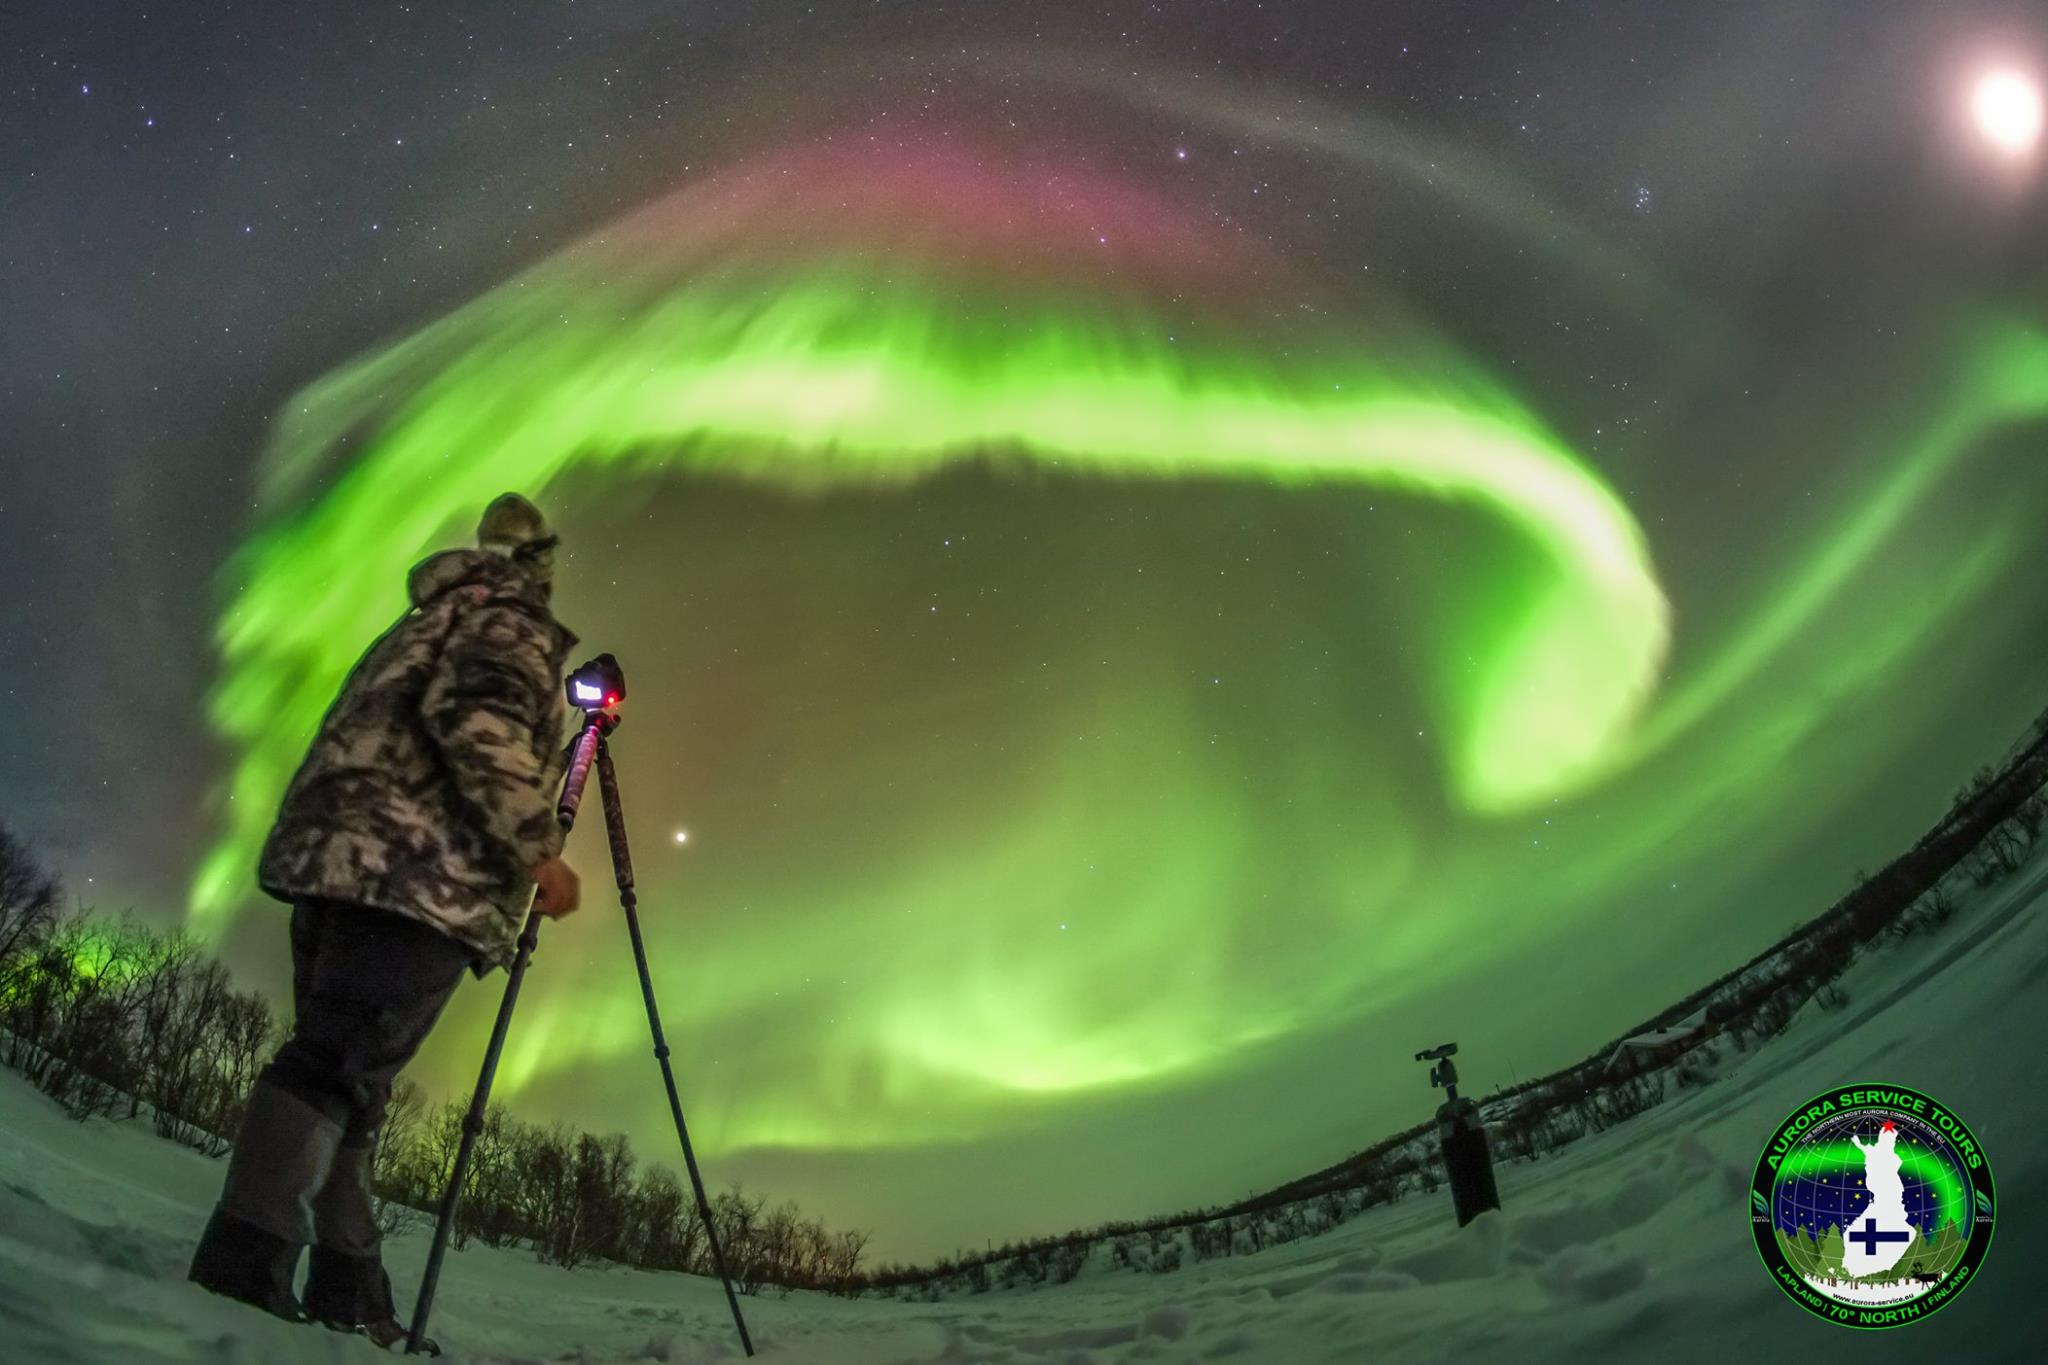
When it comes to capturing breathtaking aurora shots, having the right equipment is crucial. First and foremost, a sturdy **tripod for northern lights photography** is essential. It keeps your camera stable during long exposure shots, which are vital for photographing auroras effectively. Additionally, consider using a **wide-angle lens** to capture the expansiveness of the sky filled with northern lights. Prime lenses with wide apertures (like f/2.8 or wider) can allow more light to hit the sensor, improving your night photography results.
Another pivotal tool is a **remote shutter release**. It minimizes the risk of camera shake when pressing the shutter button, leading to clearer images, especially in low light. Furthermore, adding a good camera to your arsenal—preferably one with manual settings and the capability to shoot in **RAW format**—will significantly enhance your ability to edit images post-process. Lastly, **batteries** drain quickly in cold conditions. It’s useful to carry spares and keep them warm in your pockets before use.
Understanding the Best Camera Settings for Auroras
Getting the right camera settings can turn a good shot into a great one. Start with a low **ISO setting**, typically between 800 and 1600, which reduces noise in the image. You’ll also want to set your camera to **manual mode** to have full control over exposure. Most photographers recommend shooting at a shutter speed between 10 and 30 seconds when capturing northern lights, depending on the brightness of the display and your lens aperture.
Using the **exposure triangle** effectively—balancing shutter speed, aperture, and ISO—ensures that you capture the dynamic colors of the auroras without losing detail. Additionally, understanding how to focus at night is paramount. Utilize your camera’s live view function to zoom in on a bright star or another point of light, setting it to infinity to ensure you’re focused correctly.
Choosing the Right Time and Location
When planning your northern lights excursion, timing and location are key. The ideal time of year for northern lights photography is typically from September to April when polar nights provide the darkest skies. However, specific dating can differ based on regional weather patterns and solar activity levels.
Finding the Ideal Locations for Northern Lights
Identifying the best spots for auroras can tremendously impact your photography results. National parks in areas with minimal light pollution, such as Alaska, Canada, and parts of Scandinavia—including Norway and Iceland—are top choices for capturing spectacular auroras. Websites offering **aurora forecasting** and **aurora observing maps** can be incredibly beneficial when planning where to go. More specifically, areas known for high auroral activity levels and away from urban light pollution will offer the best sessions for your photography.
Incorporating local advice from **aurora hunting groups** or photography communities can assist you in identifying excellent locations not widely known but cultivable for stunning captured moments.
Weather Considerations and Safety Tips for Nighttime Photography
Weather conditions can vastly influence your ability to photograph the northern lights. Checking the forecast before heading out, scouting for opportunities on clear nights, and preparing for cold weather conditions by dressing adequately in thermal layers will ensure a successful outing. Additionally, it’s crucial to bring a headlamp with a red filter to maintain your night vision while setting up your gear.
Safety should also be a primary concern. Venture out with companions, remain conscious of your surrounding environment, and take precautions when navigating nighttime settings. Cold weather can be particularly hazardous; thus, staying informed about local wildlife interactions and keeping yourself warm are essential components of your adventure.
Mastering Photography Techniques for Auroras
To ensure your northern lights photography stands out, utilizing various techniques can elevate your images to professional levels. **Shooting in RAW format** allows for greater editing flexibility, as it retains all the data captured by the sensor. Furthermore, **editing northern lights photos** for clarity, color saturation, and overall effectiveness will significantly aid your portfolios.
Incorporating Advanced Techniques for Auroras
In addition to standard photography methods, delve into advanced techniques for enhanced outcomes. For instance, **timing your shots for best effects** and using **long exposure** can capture trailing lights that are splendidly vivid. Aim for longer shutter speeds if the auroras are moving rapidly, which permits the colors to trail beautifully across your frame. Moreover, techniques like **HDR photography for auroras** allow you to capture the full dynamic range of light present during these breathtaking moments.
Additionally, employing **filters for northern lights** can help manage reflections and enhance your shots. Polarizing filters can help reduce glare and enhance color saturation, leading to more impactful images.
Creative Composition Tips for Northern Lights Photography
Composition holds significant importance for visually compelling photography. Utilizing the **Rule of Thirds**, for example, helps in arranging elements within your frame for balance. Incorporating **foreground elements**, like trees, mountains, or water, can add unseen depth to your imagery as well, avoiding the tendency to focus solely on the sky during night photography.
Another creative approach would be to **capture reflections of auroras** in lakes or streams. **Photographing auroras over water** can deliver stunning symmetry and enhance viewer engagement through unique perspectives. Furthermore, try out various angles and shooting styles, mixing landscapes or even integrating local wildlife into your background for a unique twist.
Post-Processing and Sharing Your Northern Lights Images
Post-processing will often define the final imagery you share. Utilize reliable **editing software for aurora photos** to enhance brightness, contrast, and color saturation effectively. Consider utilizing tools like Lightroom or Photoshop to adjust the tonal values and colors, creating captivating outcomes that resonate with viewers.
Building Your Northern Lights Photography Portfolio
As you collect and refine your photographs of the auroras, consider establishing a cohesive portfolio that showcases your progression and unique style. Balancing different compositions and perspectives while sharing descriptions or stories behind each of your photographs can grow audience engagement. In an age where social media spreads visual content rapidly, actively sharing your results through channels such as Instagram or Facebook can be rewarding for developing your online presence.
You might also explore joining **northern lights photography workshops**, where collaborations with other enthusiasts can enhance your skills and grow your portfolio. As you share your journey and images, connecting with others who appreciate the magic of the auroras can enrich the experience even further.
Key Takeaways
- Investing in quality photography equipment and understanding crucial camera settings is essential for capturing stunning northern lights.
- Choosing the right time, place, and weather considerations will greatly enhance your chances of seeing and photographing the auroras.
- Using a combination of advanced techniques and creative compositions can elevate the quality of your aurora photography.
- Post-processing skills and building an engaging portfolio will help share your northern lights experiences more effectively.
- Prioritize safety and preparation during your nighttime photography adventures in colder environments.
FAQ
1. What time of year is best for northern lights photography?
The best time for northern lights photography is generally between September and April. During these months, conditions are favorable due to longer nights and less cloud cover. Local weather conditions and aurora activity levels can also impact visibility, so check forecasts regularly to optimize your chance of capturing stunning displays.
2. What camera settings should I use when photographing the northern lights?
For photographing the northern lights, start with a high ISO setting (between 800-1600), a wide aperture (f/2.8 or wider), and a shutter speed between 10 to 30 seconds depending on the brightness of the aurora. It’s often best to shoot in manual mode for complete control over these settings.
3. Is it possible to capture northern lights with a smartphone?
Yes, photographing northern lights with smartphones is possible, especially with models offering manual settings and low-light capabilities. While results may not match those of professional cameras, utilizing night mode and stabilization measures like a tripod can enhance your end results significantly.
4. How can I reduce light pollution when photographing the northern lights?
To reduce light pollution while photographing the northern lights, choose locations far away from city lights and urban areas. Utilize maps or resources that indicate light pollution levels and opt for areas known for their natural beauty and darker skies.
5. What techniques can improve my northern lights photo composition?
Improving your composition can be achieved by following fundamental principles like the Rule of Thirds, incorporating interesting foreground elements, and varying your shooting angles. Capturing reflections in water and mixing landscape elements creatively provides depth and engagement, ultimately creating more impactful imagery.
6. Should I shoot in vertical or horizontal orientation for northern lights?
Both orientations have their advantages: vertical orientations work well for framing a single tree or foreground element against the expansive sky of northern lights, while horizontal settings are often ideal for wide landscapes. Experimenting with both can provide a variety of compositions for your portfolio.
7. What is a remote shutter release, and why should I use one?
A remote shutter release is a tool that allows you to take photos without physically touching your camera, reducing the risk of camera shake during long exposure shots. Using one is especially helpful in low-light conditions like those found while photographing northern lights, leading to sharper images.